子比主题新增一个友圈动态页面
2025年6月7日 23:45
逛博客的时候看到了一个好玩的东西(友圈),说人话就是新建一个单独的页面用于展示已加入友情链接博友的动态,这个东西是在品味苏州博客中看到的,原文教程很详细,我按步骤直接复制粘贴没搞成功,但大概思路是知道的,于是在小C的帮助下经过一天的时间重新搞了一套出来。目前各项功能已基本调试完毕因此把教程发出来。
友圈动态项目简介
核心功能
- RSS 聚合展示:从多个 RSS 源抓取内容并按源分类显示。
- 每个源展示最新 6 条文章,按时间倒序排列。
- 并发抓取:采用
curl_multi并发请求优化加载速度。 - 缓存机制:使用本地缓存文件(
feed_cache.json)减少对源站的频繁请求。
样式特性
- 使用
Flexbox实现响应式布局,每个 RSS 源为一个块(.rss-block)。 - 每个块包含:
- 左侧头像与站点名(
.rss-left) - 右侧文章列表(
.rss-right)
- 左侧头像与站点名(
布局结构
- 卡片式设计:每个源用卡片风格独立展示,配有边框和阴影。
- 头像 + 名称居中显示:头像是圆形,居中对齐,站点名位于头像下方。
- 文章列表一行一条,清晰简洁。
- 文章后标注完整时间(含年份):格式为
(YYYY-MM-DD)。 - 移动端适配良好:
- 小屏下卡片垂直排列,头像居中缩小;
- 字号适当缩小;
- 留有顶部边距改善视觉体验。
准备页面所需代码
首先第一步,在主题page目录中新建一个rss.php文件,名字可根据自己喜好去定义但一定要放在page目录中,之后将代码粘贴进去:
点击显示代码
<?php
/*
Template Name: RSS 朋友圈
*/

date_default_timezone_set('Asia/Shanghai');
get_header();
require_once(ABSPATH . WPINC . '/class-simplepie.php');

echo '<p style="color: red; font-size: 18px; margin: 10px 0 10px 0; text-align: center;">以下友情链接网站最新内容每 2 小时获取更新一次</p>';

$transient_key = 'rss_circle_final_style';
$cache_duration = 7200; // 缓存 2 小时

function fetch_all_rss_items($rss_sites, $timeout = 20) {
    $mh = curl_multi_init();
    $chs = [];
    $results = [];

    foreach ($rss_sites as $i => $site) {
        $ch = curl_init();
        curl_setopt_array($ch, [
            CURLOPT_URL => $site->link_rss,
            CURLOPT_RETURNTRANSFER => true,
            CURLOPT_FOLLOWLOCATION => true,
            CURLOPT_TIMEOUT => $timeout,
            CURLOPT_CONNECTTIMEOUT => 5,
            CURLOPT_SSL_VERIFYPEER => false,
            CURLOPT_USERAGENT => 'Mozilla/5.0',
        ]);
        curl_multi_add_handle($mh, $ch);
        $chs[$i] = $ch;
    }

    $running = null;
    do {
        curl_multi_exec($mh, $running);
        curl_multi_select($mh);
    } while ($running > 0);

    foreach ($chs as $i => $ch) {
        $body = curl_multi_getcontent($ch);
        curl_multi_remove_handle($mh, $ch);
        curl_close($ch);

        if (strlen(trim($body)) < 100) continue;

        $feed = new SimplePie();
        $feed->set_stupidly_fast(true);
        $feed->set_raw_data(ltrim(preg_replace('/^\xEF\xBB\xBF/', '', $body)));
        $feed->set_useragent('Mozilla/5.0');
        $feed->enable_cache(false);
        $feed->init();

        if (!$feed->error()) {
            foreach ($feed->get_items(0, 6) as $item) {
                $results[] = (object)[
                    'title' => $item->get_title(),
                    'link' => $item->get_link(),
                    'date' => $item->get_date('U'),
                    'source_name' => $rss_sites[$i]->link_name,
                    'source_link' => $rss_sites[$i]->link_url,
                    'source_avatar' => $rss_sites[$i]->link_image,
                ];
            }
        }
    }

    curl_multi_close($mh);
    return $results;
}

$data = get_transient($transient_key);
if ($data === false) {
    global $wpdb;
    $rss_sites = $wpdb->get_results("SELECT * FROM wp_links WHERE link_rss != '' AND link_visible = 'Y'");
    $data = fetch_all_rss_items($rss_sites);
    usort($data, fn($a, $b) => $b->date <=> $a->date);
    set_transient($transient_key, $data, $cache_duration);
}

?>

<style>
.rss-grid {
    display: flex;
    flex-direction: column;
    align-items: center;
    gap: 10px;
    padding: 0 10px;
    box-sizing: border-box;
    width: 100%;
}

.rss-block {
    width: 100%;
    max-width: 1050px;
    border: 1px solid #ddd;
    padding: 20px;
    background: #fafafa;
    border-radius: 8px;
    display: flex;
    gap: 20px;
    box-shadow: 0 2px 6px rgba(0, 0, 0, 0.05);
    font-size: 16px;
    box-sizing: border-box;
}

.rss-left {
    width: 100px;
    text-align: center;
    flex-shrink: 0;
    display: flex;
    flex-direction: column;
    justify-content: center;
}


.rss-left img {
    width: 80px;
    height: 80px;
    object-fit: cover;
    border-radius: 50%;
    display: block;
    margin: 0 auto 10px;
    background-color: #f0f0f0;
}

.rss-placeholder {
    width: 80px;
    height: 80px;
    line-height: 80px;
    border-radius: 50%;
    background: #eee;
    color: #999;
    font-size: 14px;
    margin: 0 auto 10px;
}

.rss-name a {
    display: block;
    text-align: center;
    font-weight: 600;
    font-size: 17px;
    color: #222;
    text-decoration: none;
    margin-top: 5px;
}

.rss-name a:hover {
    text-decoration: underline;
}

.rss-right {
    flex: 1;
}

.rss-posts {
    list-style: none;
    padding-left: 0;
    margin: 0;
}

.rss-posts li {
    margin-bottom: 10px;
    font-size: 15px;
}

.rss-posts a {
    text-decoration: none;
    color: #222;
}

.rss-posts a:hover {
    text-decoration: underline;
}

.rss-date {
    color: #999;
    font-size: 0.85em;
    margin-left: 6px;
}

/* 移动端适配 */
@media (max-width: 768px) {
    .rss-block {
        flex-direction: column;
        padding: 15px;
    }

    .rss-left {
        width: 100%;
        text-align: center;
        margin-bottom: 10px;
    }

    .rss-left img,
    .rss-placeholder {
        width: 60px;
        height: 60px;
        line-height: 60px;
        margin-top: 10px;
    }

    .rss-name a {
        font-size: 16px;
    }

    .rss-posts li {
        font-size: 14px;
    }
}
</style>

<?php
if (empty($data)) {
    echo '<p style="padding:20px; text-align:center; color:#999;">暂无RSS数据,请稍后刷新或稍候再试。</p>';
} else {
    // 分组
    $grouped = [];
    foreach ($data as $entry) {
        $grouped[$entry->source_link]['info'] = [
            'name' => $entry->source_name,
            'link' => $entry->source_link,
            'avatar' => $entry->source_avatar,
        ];
        $grouped[$entry->source_link]['items'][] = $entry;
    }

    echo '<div class="rss-grid">';
    foreach ($grouped as $source) {
        echo '<div class="rss-block">';
        echo '<div class="rss-left">';
        if (!empty($source['info']['avatar'])) {
            echo '<img src="' . esc_url($source['info']['avatar']) . '" alt="avatar">';
        } else {
            echo '<div class="rss-placeholder">No Avatar</div>';
        }
        echo '<div class="rss-name"><a href="' . esc_url($source['info']['link']) . '" target="_blank">' . esc_html($source['info']['name']) . '</a></div>';
        echo '</div>';
        echo '<div class="rss-right"><ul class="rss-posts">';
        foreach ($source['items'] as $item) {
            echo '<li>';
            echo '<a href="' . esc_url($item->link) . '" target="_blank">' . esc_html($item->title) . '</a>';
            echo '<span class="rss-date">(' . date('Y-m-d', $item->date) . ')</span>';
            echo '</li>';
        }
        echo '</ul></div>';
        echo '</div>';
    }
    echo '</div>';
}

get_footer();
?>
![图片[1] - 登山亦有道](https://qiniu.chenyan98.cn/wp-content/uploads/2025/06/f8b0c9.png)
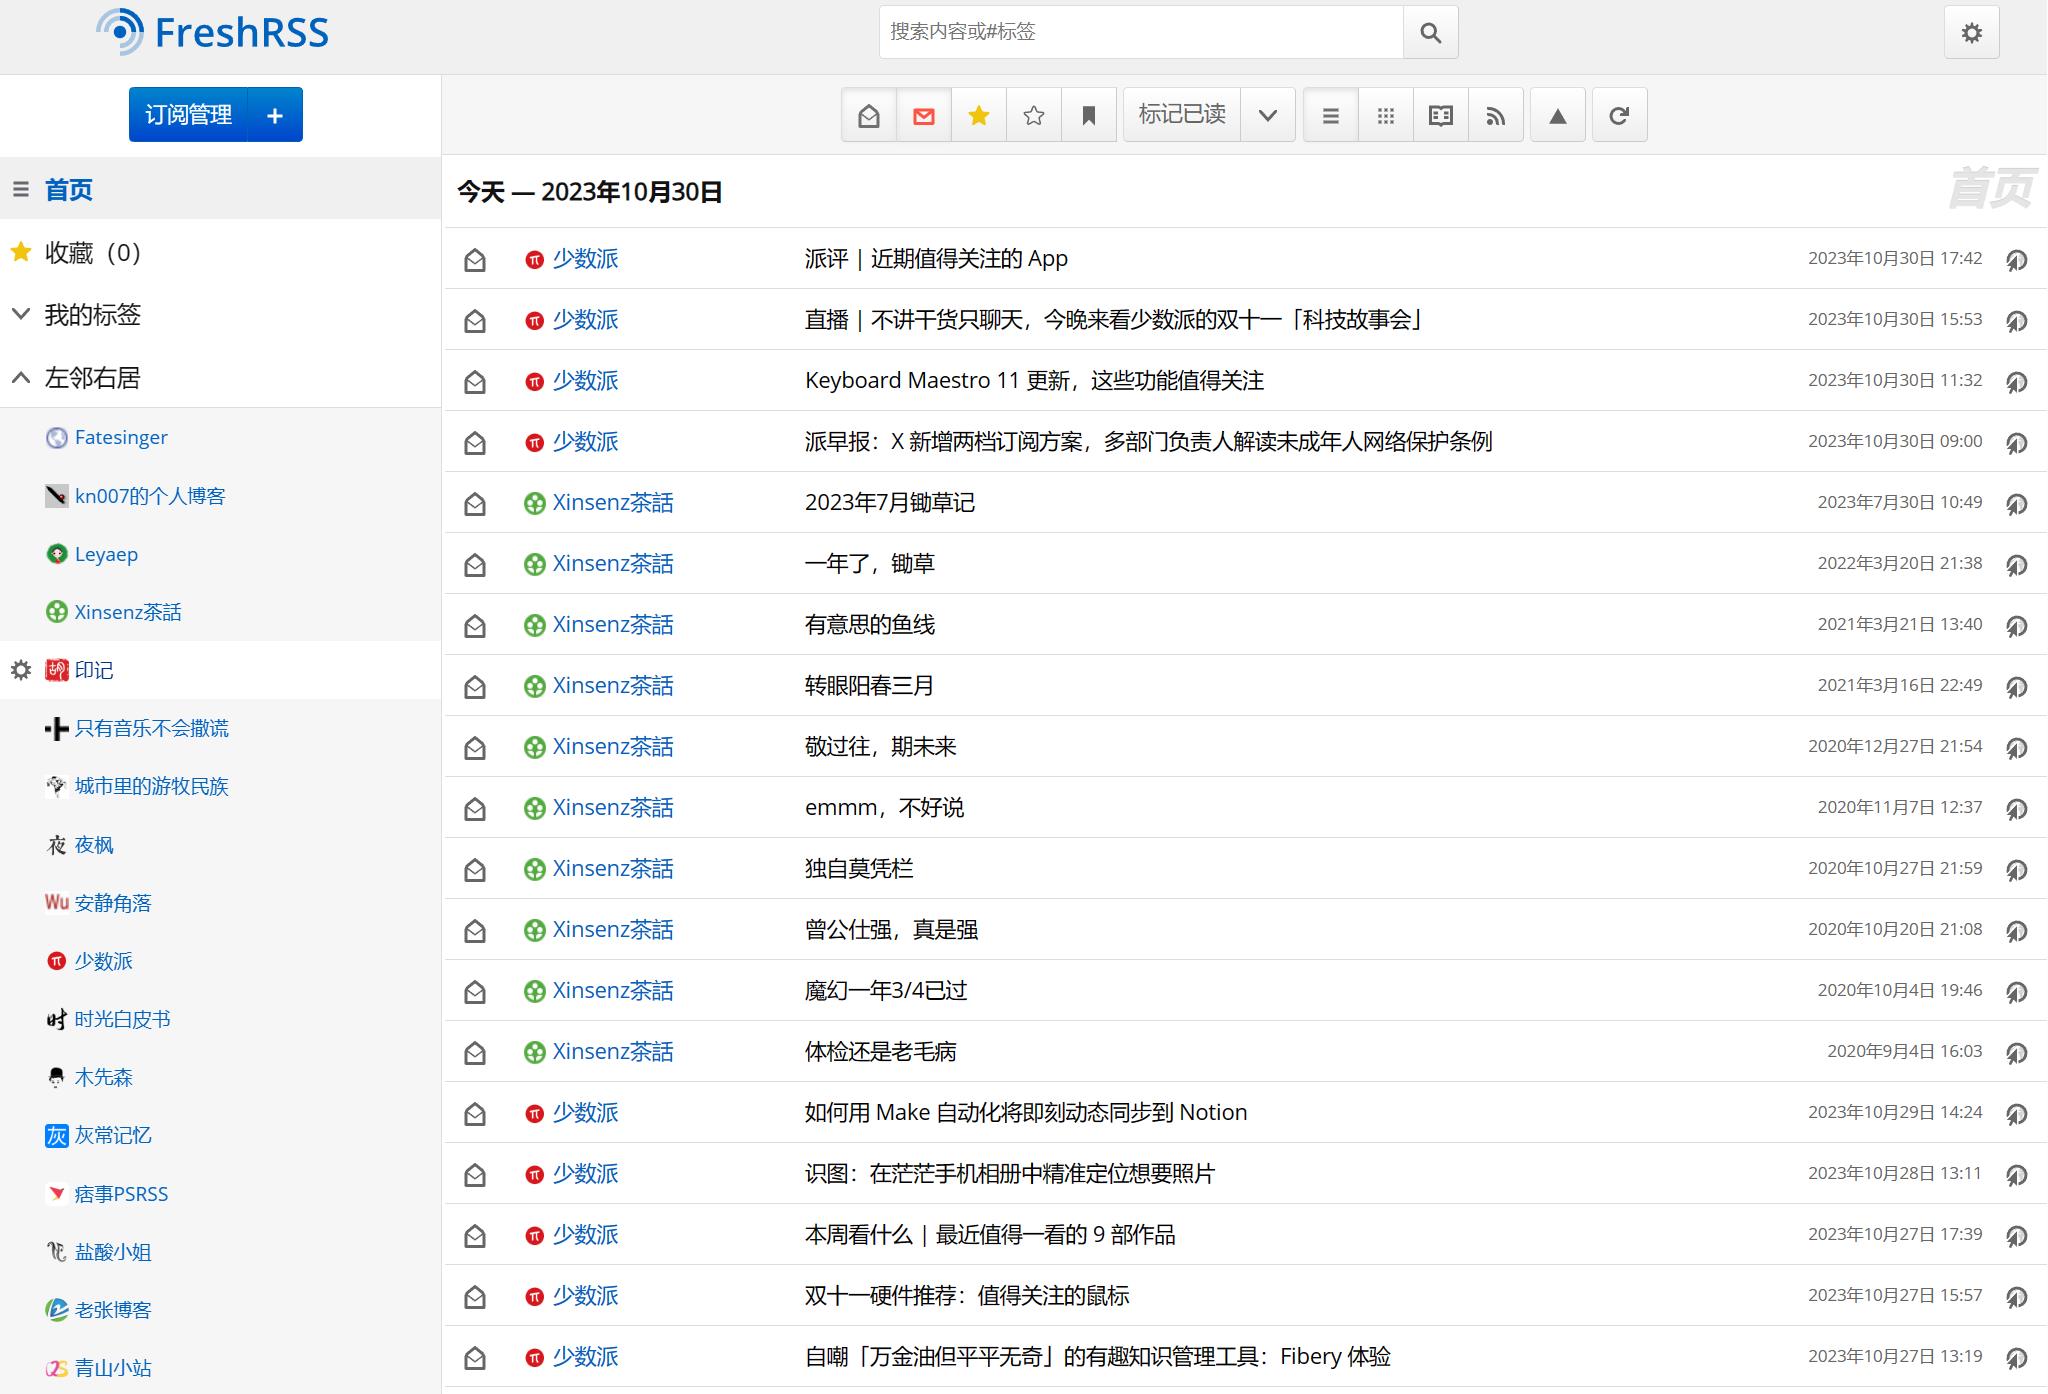
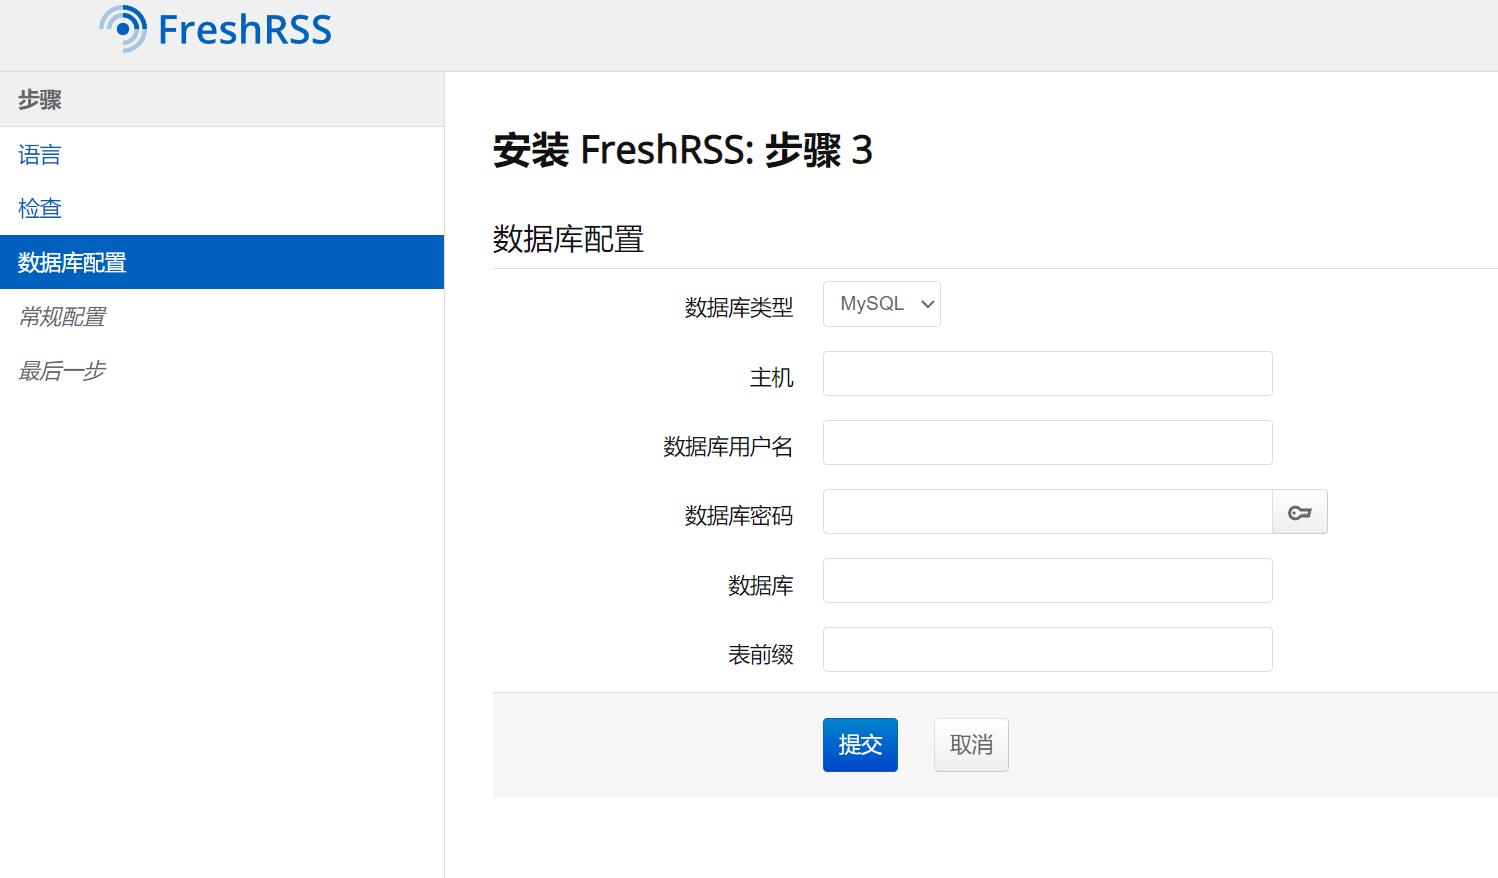
添加链接和订阅地址
WordPress可以很方便的管理链接,并且还可以在详情里边填写链接对应的订阅地址,这里不填程序会尝试自动抓取订阅地址,如果抓取不到还会再主页链接的基础上添加/feed进行保底尝试,因此这一块基本不用担心,但遇到一些特殊的博客程序还是建议手动去填写,因为这次调试中就遇到了不规则命名(/rss2.xml)导致无法正常获取RSS数据的情况。
![图片[2] - 登山亦有道](https://qiniu.chenyan98.cn/wp-content/uploads/2025/06/2cdd38.png)
新建友圈页面
新建一个空白页面选择对应的模板并对链接进行命名即可,点击发布如果没什么意外,到这一步就算大功告成了,具体显示效果可以看我的友圈动态页面,我对他进行了强迫症等级的样式优化,现在链接中的页面是迄今为止最完美的一个样式,没有花里胡哨,只有简洁。
![图片[3] - 登山亦有道](https://qiniu.chenyan98.cn/wp-content/uploads/2025/06/30d5a7.png)